I Did Not Know I Could Do That On A Weber Kettle Part Four
The Purpose of the Post:
In this blog post, I aim to demystify the Indirect cooking method, particularly emphasizing its effectiveness for smoking meat. While the Direct/Indirect cooking method, as outlined in my previous blog post titled ‘I Didn’t Know I Could Do That With A Weber Kettle – Part Three’ on fireinthekettle.com, is ideal for quickly searing steaks, grilling hamburgers, sausages, and hotdogs, the Indirect cooking approach shines when it comes to Low and Slow Cooking, delivering succulent, tender results infused with smoky flavor. It’s essential to recognize that the Indirect Method isn’t limited solely to low and slow smoking; it can also be employed for cooking items like steaks, hamburgers, sausages, and hotdogs. The key distinction lies in temperature control. When smoking, the inside of the kettle operates at much lower temperatures, perfect for slowly infusing flavors into the meat. However, if you’re using the Indirect Method for cooking – and I emphasize cooking – you’ll need to elevate your temperatures significantly to ensure proper doneness and searing.
Temperatuer Control:
Temperature control on a kettle grill is primarily managed through the bottom and top vents. The amount of airflow entering the kettle directly affects its internal temperature; more airflow means a hotter interior. This principle holds true for any grill or smoker—increased airflow results in higher temperatures. Additionally, it’s crucial to understand that adjustments to either the bottom or top vent, especially on a Weber Kettle, require at least fifteen minutes to take effect, so exercising patience is key.
Preperation of meats:
Now, let’s focus on utilizing the Indirect cooking method for preparing meats such as hotdogs, steaks, hamburgers, and sausages. With this method, it’s important to recognize the concept of having a hot side and a cold side within the grill. The meat is initially cooked on the cold side until it reaches the desired internal temperature. Then, to achieve a delicious sear, the meat is moved to the hot side with the lid off or raised, allowing it to caramelize and develop a flavorful crust.
What is Indirect Cooking?:
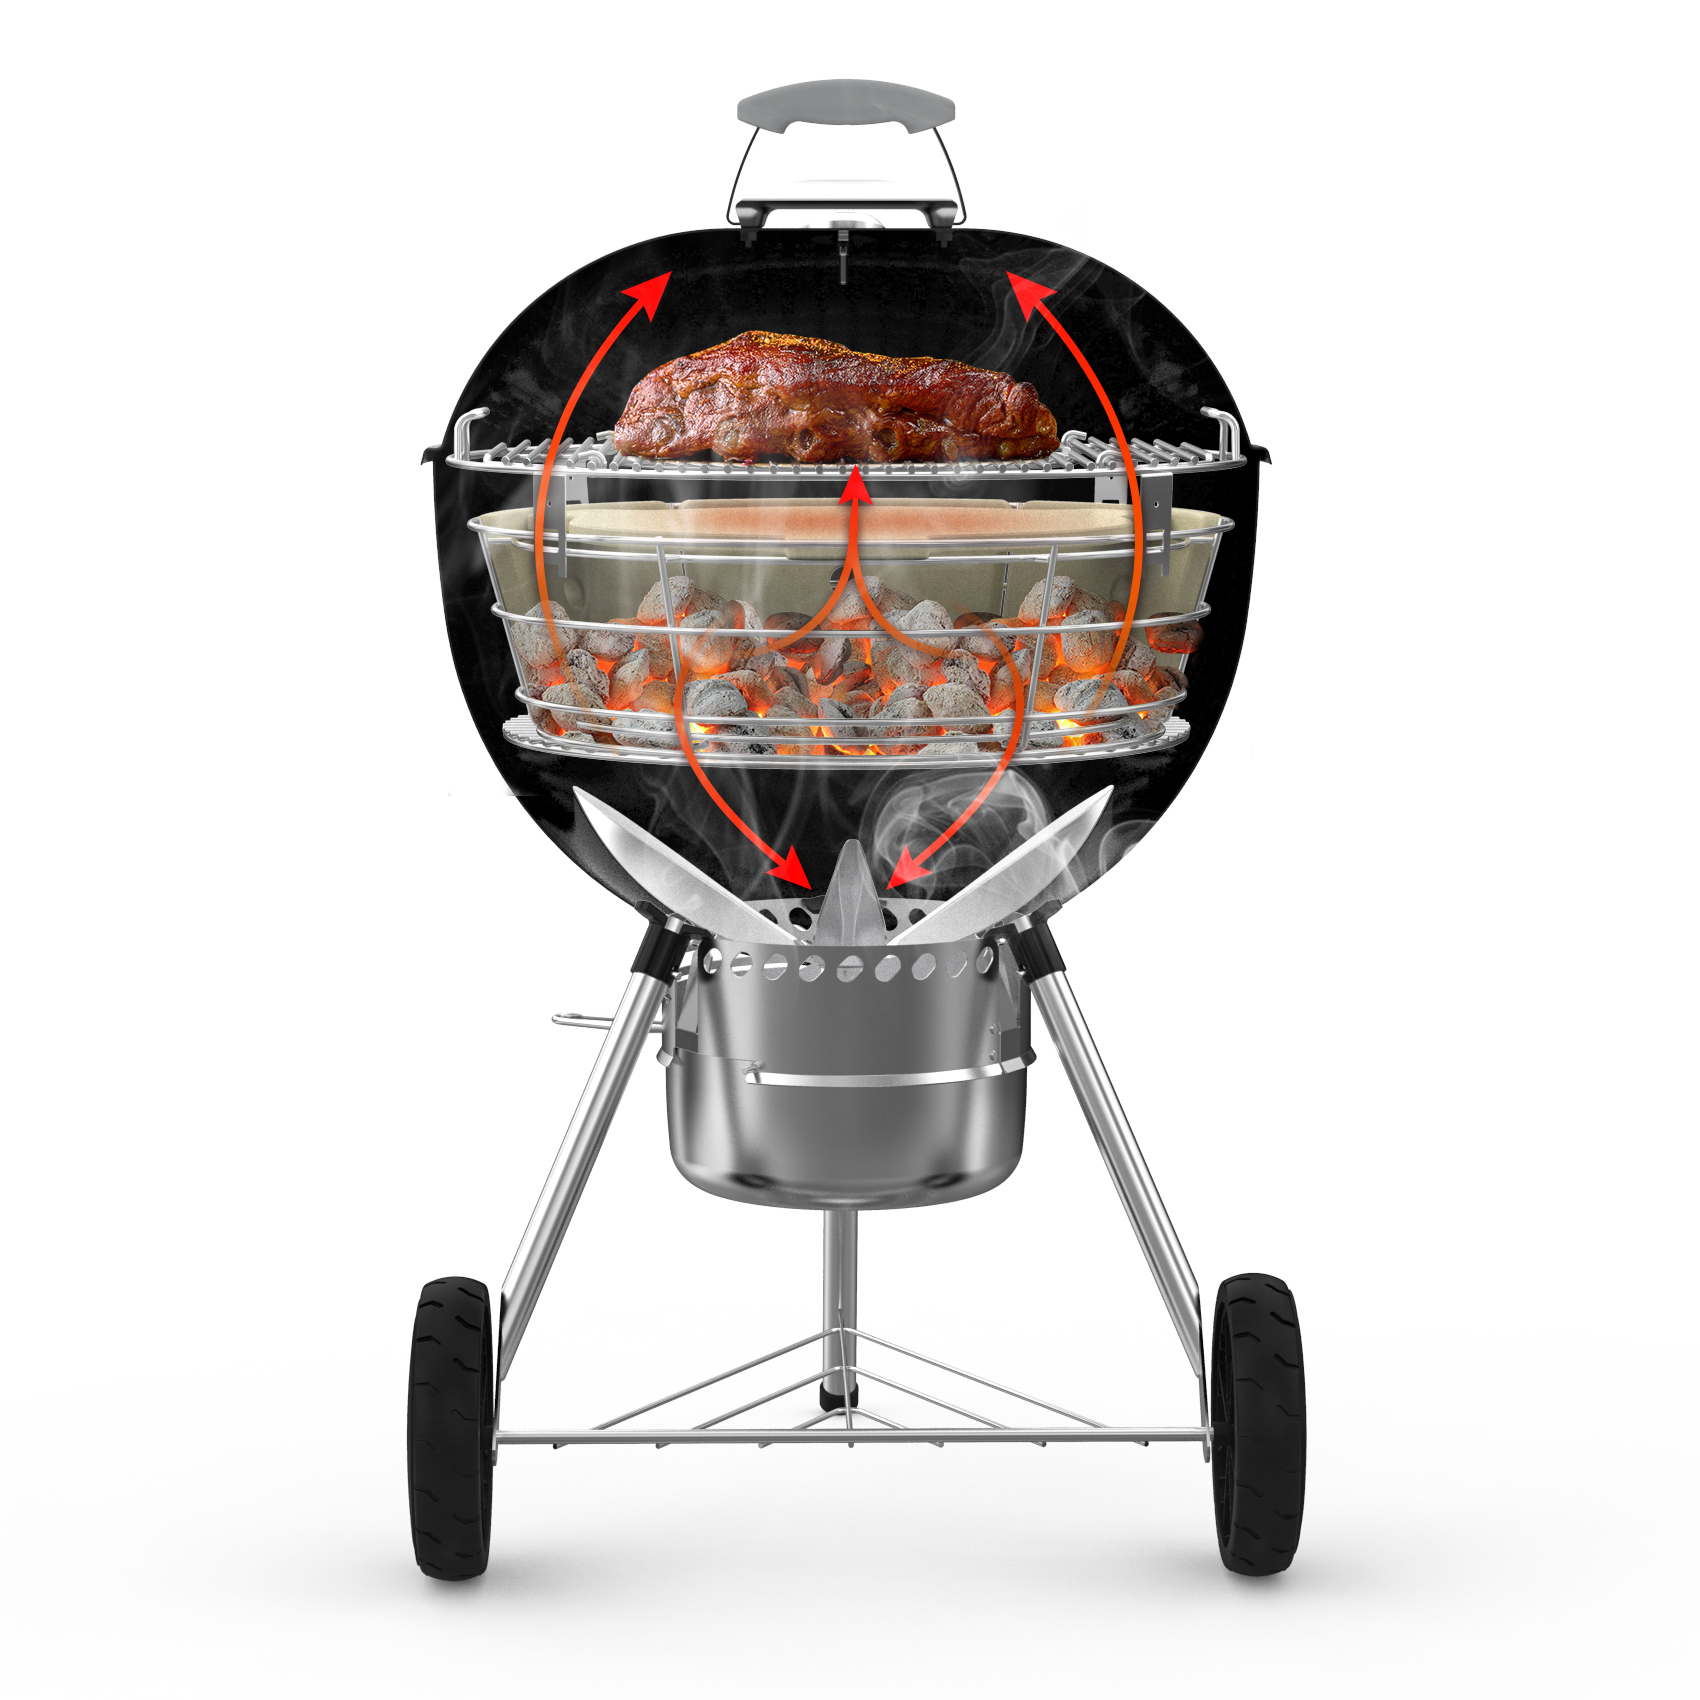
Let’s delve into the fundamental question: ‘What Is Indirect Cooking?’ Essentially, it entails positioning a fuel source—whether it be briquettes or lump charcoal—on one side of the Weber Kettle, while placing your meat on the opposite side, as far away from the heat source as possible, all the while ensuring the lid is tightly closed. It’s important to recognize the versatility in arranging your charcoal to achieve an Indirect Cook, and if space permits in this blog post, I’ll explore some of these setups. Alternatively, I may dedicate another post to delve deeper into this topic.
Low and Slow Cooking Method:
Returning to the essence of the Indirect cooking method, as mentioned earlier, it’s primarily reserved for Low and Slow cooking. This technique is particularly suitable for delicate foods like fish. When employing the Indirect cooking method, the preparation time for the meat varies from a minimum of twenty-five minutes to a maximum of twelve hours or more, depending on the size and weight of the meat. For a Low and Slow cook, aim for a Kettle temperature between Two-Hundred-Twenty-Five to Two-Hundred-Fifty degrees Fahrenheit. These temperatures serve as a baseline and can be adjusted higher for faster cooks.
Successful Low and Slow Cooks
The cornerstone of a successful Low and Slow cook lies in the heat source; there must be an ample supply of charcoal to sustain the entire cooking duration. It’s crucial to emphasize that having more charcoal for the cook is preferable to having less. Towards the conclusion of the cook the meat is removed from the pit and rested, the lid is placed on top of the Kettle, and all dampers are closed, cutting off the airflow to the heat source and facilitating the cooling process. Any remaining unburned briquettes or lump coals on the charcoal grate can be effectively reused in future cooks.
Mastering the art of low and slow:
Mastering the art of determining the right amount of charcoal does require some practice. However, for those new to the realm of Low and Slow pitmasters, this can be a challenging task. To address this, let’s explore some tools that can greatly assist in accurately gauging the optimal amount of charcoal. Remember, the amount of charcoal used directly impacts the interior temperature of the grill. However, there is an exception to this rule, known as the snake method, which will be discussed and tested in another blog.
Tools used for the low and slow Cooking method:
The Charcoal Basket:
The image below showcases two charcoal baskets designed to be positioned on the sides of the Weber Kettle, allowing them to be filled with the charcoal of your choice. Naturally, the more charcoal added to the baskets, the longer it will last. These charcoal baskets introduce another cooking method known as the Three-Zone Method. I delve into the Two-Zone Method of cooking in detail in my blog post titled ‘I Did Know I Could Do That With A Weber Kettle – Part Three,’ available on my website at fireinthekettle.com With the Three-Zone Method, the meat being prepared is centered on the cooking grate, and a basket is placed on each side of the Kettle, atop the charcoal grate. It’s essential to note that the top damper on the Kettle lid should be positioned directly over the meat being prepared NOT over either of the baskets containing the heat source. If only one basket is used, we revert to a Two-Zone cooking method, as illustrated below.
the double hinged cooking grate:
Introducing another valuable tool to enhance the Low and Slow cooking method arsenal—the Double-Side Hinged Cooking Grate showcased in the image below. By placing one or both sides of the Hinged Grate over the charcoal baskets, you gain the flexibility to add more charcoal during a Low and Slow cook. The hinged cooking grate also allows for the addition of more wood to the charcoal basket if required throughout the cook. As the meat undergoes the Low and Slow cooking process, periodic temperature checks with a meat thermometer become necessary. During these checks, one can also assess the charcoal and wood levels. However, it’s crucial to keep in mind the adage: ‘If you’re looking, you’re not cooking.’ While single-hinge cooking grates are available, opting for the Dual Hinge cooking grate, albeit slightly pricier, proves to be a much more versatile investment. All of these products can be found at Onlyfire on their website onlyfire.com
My Low and Slow Cooking Tools:
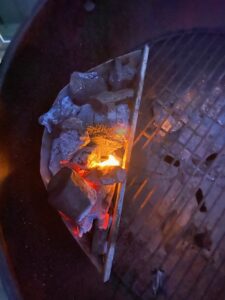
I want to focus on the tools I use for my Low and Slow cooks, as I believe in the adage ‘Practice Makes Perfect.’ For my setup, I utilize a large charcoal basket from Skyflame, positioned atop the charcoal grate in the bottom of my Weber Kettle. Opting for lump charcoal, I appreciate its ability to burn hotter and longer. Filling the charcoal basket nearly to the top, I leave room for my choice of smoking wood.
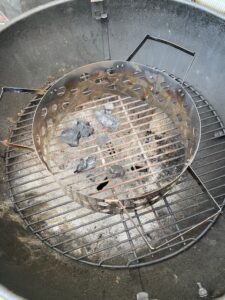
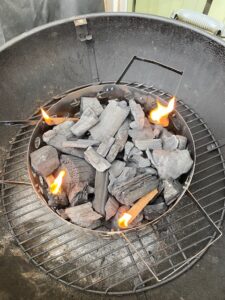
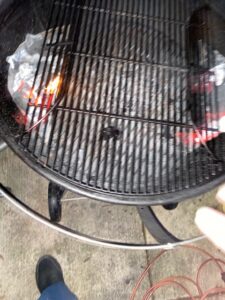
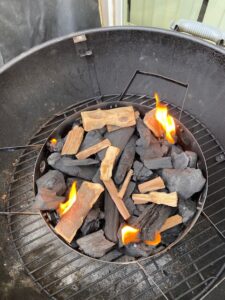
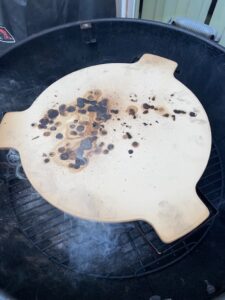
Adding the Wood to the Fire:
Once I’ve ignited the lump charcoal to a red-hot state, I place my preferred wood on top and then position a ceramic diffuser over the basket. This Skyflame kit includes the charcoal basket, a ceramic or stainless-steel diffuser, and four clips to raise the Cooking Grate of the Weber Kettle about an inch and a half above the diffuser.
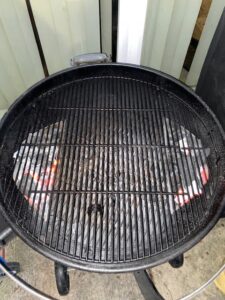
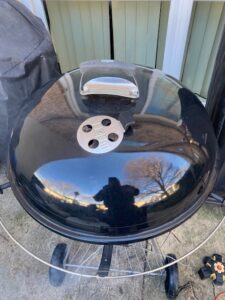
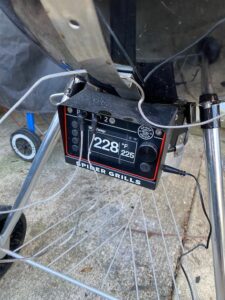
Proper Temperature:
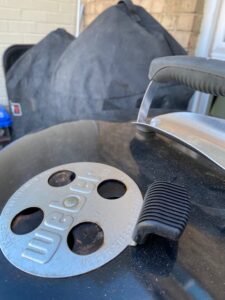
With the lid lowered, I set my Spider-Grill temperature controller to 225 degrees and await two critical indicators. Firstly, I look for blue smoke billowing out of the Top Vent, which needs to be one-quarter open for the Spider-Grill temperature controller to regulate the Kettle’s internal temperature. Secondly, I monitor the Spider-Grill temperature controller to reach the desired internal temperature of 225 degrees.
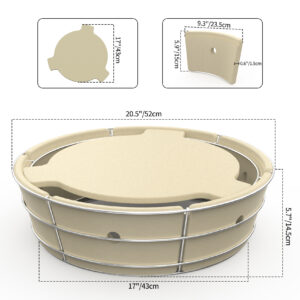
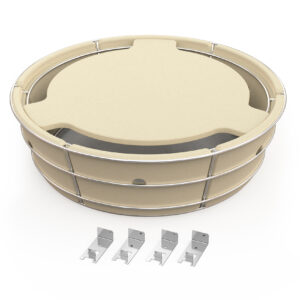
In Closing:
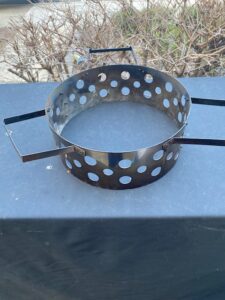
In closing, I’m excited to share a new discovery I’ll be transitioning to for all my Low and Slow cooks: the Onlyfire Charcoal Ash Basket and Charcoal Firebox Set. Available at Onlyfire’s website (onlyfire.com), this set offers several advantages, notably the ceramic construction surrounding the charcoal basket and lid. As I’ve discussed, incorporating ceramic components into a Weber Kettle brings significant benefits. From improved heat retention to even cooking, ceramics elevate the grilling experience. It’s a testament to the innovation and versatility of modern grilling tools. Here’s to elevating your barbecue game with the power of ceramic!
- Heat Retention: Ceramic materials, such as ceramic diffusers or heat deflectors, have excellent heat retention properties. They absorb heat efficiently and distribute it evenly, helping to maintain consistent temperatures throughout the grill.
- Even Cooking: The even distribution of heat provided by ceramic components helps ensure that food cooks evenly, reducing the risk of hot spots and unevenly cooked dishes.
- Moisture Retention: Ceramic diffusers can help trap and retain moisture in the cooking chamber, which is especially beneficial for low and slow cooking methods like smoking. This helps prevent the food from drying out and results in juicier, more flavorful dishes.
- Reduced Flare-Ups: By acting as a barrier between the heat source and the food, ceramic components can help reduce flare-ups caused by dripping fats and juices. This is particularly useful when grilling fatty meats or foods with marinades.
- Versatility: Ceramic diffusers can be used for various cooking techniques, including smoking, indirect grilling, and even baking. They provide a versatile cooking surface that allows for a wide range of culinary possibilities.

Overall, incorporating ceramic components into a Weber kettle or grill can enhance cooking performance, improve flavor, and provide greater control over the cooking process. I do hope you were able to find some value in this post, your comments are always greatly appreciated and can be left in the comments section by clicking the “Click Here to send us Your Comments on this Post” link below.